Bone Tool Workshop

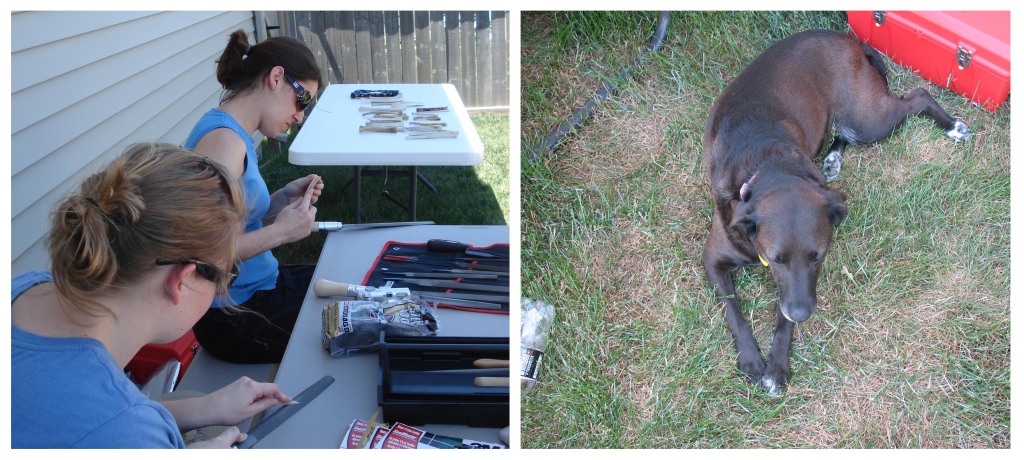
Last week the preservation department staff spent a lovely (and extremely sunny) afternoon learning to make our own bone tools from the remains of deer and cows. Melissa, having received instruction some years ago in a workshop with Jim Croft, demonstrated the methods of shaping bone with hand tools. You can find her previous post on bones here.

Sanding bone can get pretty messy, so Mindy provided a nice outdoor space for us with tables and chairs. When we all arrived, Melissa laid out a selection of cleaned bone pieces graciously provided by a local biological anthropologist and her swarm of dermestid beetles. We were glad to receive the assistance of those little guys, as they apparently saved us a great deal of skinning, stripping, boiling, burying… and waiting.
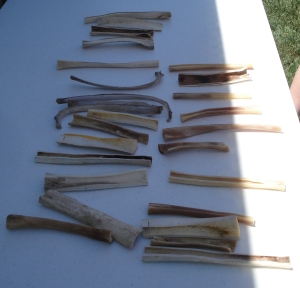
A selection of clean bones, ready for shaping.

The entire process of shaping the bone requires a heavy cutting tool (such as a hatchet), a variety of rasps and files, sandpapers, and steel wool.
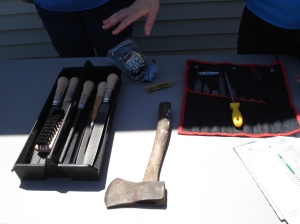
All the requisite tools.
The requisite tools.

After selecting a bone with an appealing length, shape, and or heft, we began shaving and chipping pieces away with the hatchet. Bone can be carved not unlike wood, and the rough shape of the tool is achieved rather quickly. After shaping with the hatchet, we took turns working with the roughest rasp to whittle away the protrusions.
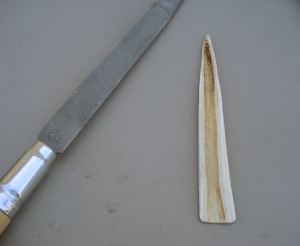
After a rough shaping with the hatchet, the rasping begins!

This process continued for some time – the shape of our tool-to-be emerging as we switched to increasingly finer rasps and files.
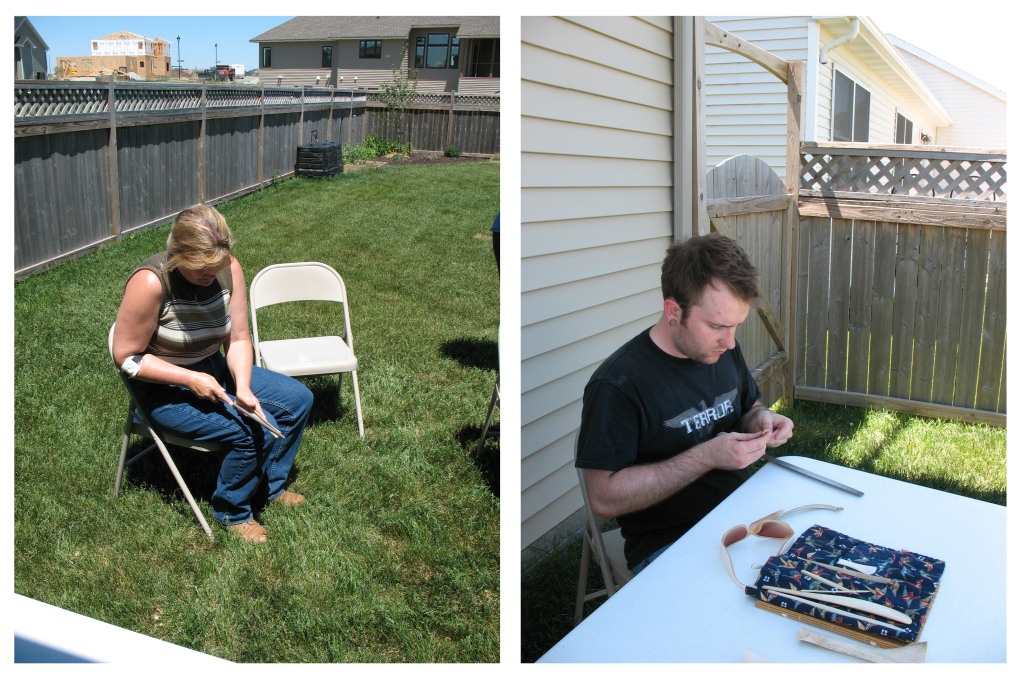
We worked all afternoon… and Penny helped.

When the finest file had done its work, we began to further smooth the tool with sandpaper. Starting rough (~100 grit) and working our way down to a very fine (~400 grit) paper. When the tool was completely smooth, we used steel wool to polish the surface. This step really brought out the variety of natural color permeating the bone. As a final conditioning treatment, oil is applied and worked into the surface. Some prefer to use the natural oil of their face or hair to condition their tool, but others just apply olive oil.

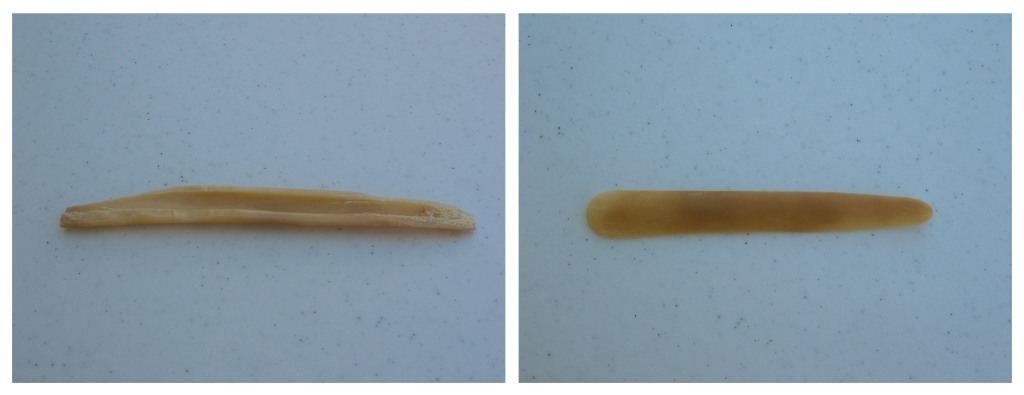
A before and after view of Chris's work.

Several deer rib bones were scattered about in our collection, but their spongy inner structure proved unsuitable for tools. In my future attempts at making bones tools, I’ll be interested to find out which animals provide suitable ribs. I’ve seen at least one enviable bone tool made from a rib, and I’m assuming that it came from a larger animal.

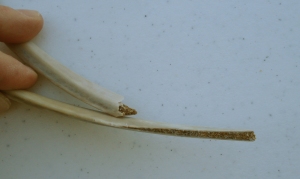
A cross section of the deer rib bones.

By the end of the afternoon I had nearly finished two tools. I will leave you with a few important lessons learned through this experience so that would-be toolmakers out there do not make my same mistakes. First, even though bone can be carved kind of like wood, it doesn’t really split  – it shatters. If you have a larger bone that you need cut down, it’s probably best to use a bandsaw. Additionally, safety is a consideration when using hand tools. Be sure to give yourself periodic breaks, as this work can be rough on the wrists. Filing away at a small tool for hours can lead the mind to wander, however, constant vigilance is paramount! I learned the hard way that distraction = a rasped hand. Good luck with those bones!

1 Comment

Leave a comment