Some time ago I wrote a post about covering the lab’s shedding bag weights in heavy weight Hollytex. My current update is that the Hollytex has gotten a little “fuzzy”-looking. The fibers have become loosened because of repeated contact with many surfaces. The covered weights still work fine, but they don’t look as nice as they did at first. In this post I want to share a simple, budget-friendly way to make weights using fabric you have at home and BB pellets or lead shot.

It is important that the fabric you choose for this project is durable and has a very tight weave. It helps if the fabric is a tiny bit stretchy but it should not be too thin. If it is, the shape of the metal pellets will give the surface of the weights a bumpy texture. The tight weave of the fabric ensures that lead shot pellets will not shed through the tiny spaces between the weave and the weft of the fabric. I used old ripped jeans that had been washed hundreds of times in the washing machine. There is no danger of the weights bleeding color since all the dye has been washed out of them already. Some of the jeans I turned inside out, others I did not. It’s nice to have a few tasteful colors going. Denim is always in! For good measure, I washed all the jeans again in hypo-allergenic fragrance-free detergent, before taking the scissors to these retired garments.

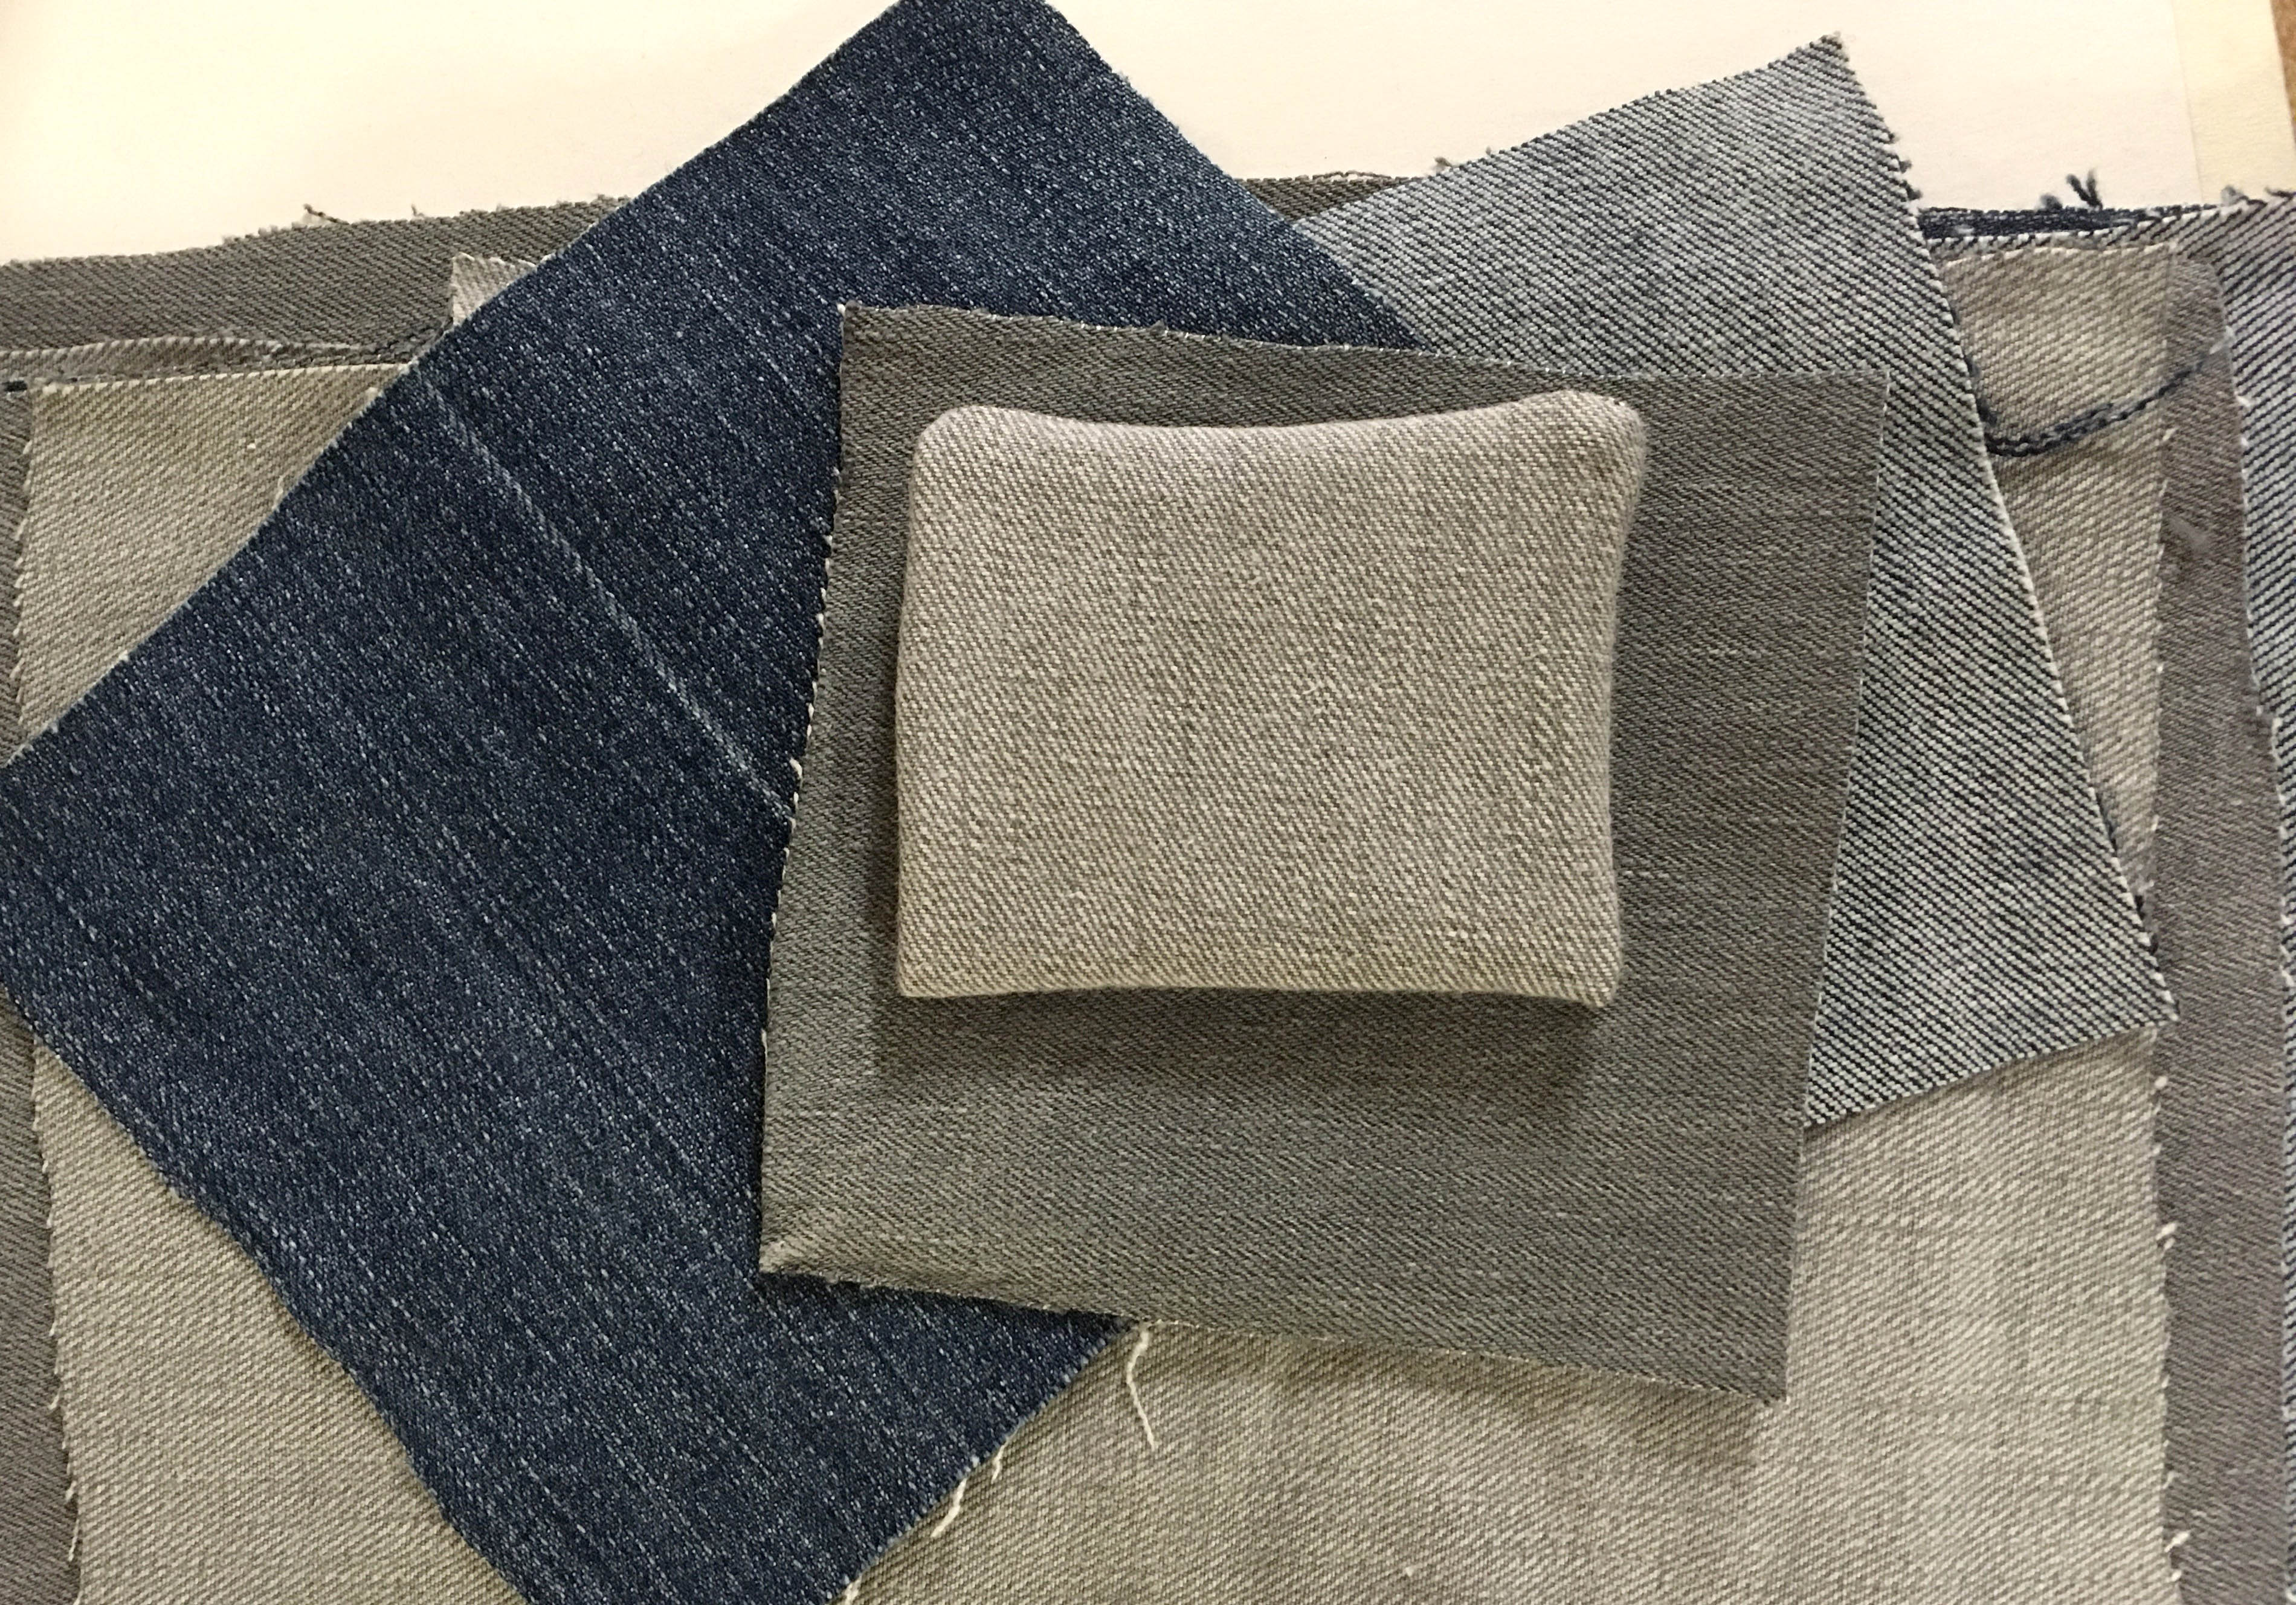
Step 1: Fold a rectangular piece of denim in half and stitch on the sewing machine along 2 edges. Leave one short edge open. Turn inside out.

on the interior of the bag, so the color of your actual weight will be whatever it is on the other side.

Step 2: Filling the bags with BB’s and/or lead shot. Lead shot pellets are much smaller than BB’s, and lead is heavier than plated steel in the first place. As a result, bags made with lead shot are significantly heavier, since there is almost no empty space between the small pellets. I filled my mini weights with lead shot and my bigger and longer weights with BB’s. If you live in an area of the country where hunting is a common activity, you can pop into your neighborhood Walmart and purchase those BB’s. If Walmart is not your jam, you can get it at a sporting goods store like Dick’s or on Amazon. I bought Daisy PrecisionMax .177 caliber BBs, 6000 count. Getting access to lead shot is trickier, as it is normally sold in industrial-sized quantities. But it’s possible to purchase smaller amounts on Amazon.


When filling the bags, it is helpful to use a small scoop. I had tried a funnel, but the pellets inevitably clumped up and blocked the narrow opening. These little balls drop and roll fast, all over the place. They are hard to track down on the floor!
Step 3: Closing up the bags. It is best to avoid overfilling the bag weights. If they are too tightly packed, the weights will not have a flexible enough shape to allow for the desired drape. So, leave some room at the top of the bag and the pellets will have space to shift back and forth. Doing this also makes it a lot easier to make the final seam. Fold in the edges at the open end and stitch one last line on the sewing machine to close up that opening.

Extra tip: The final seam. As you are getting ready to close up the opening, you might find that the folded edges of the fabric feel bulky at the ends. This is especially true of the point where the folded edge meets the other seam, with its extra bit of margin. Most sewing machines will get stuck on that thickness of fabric. I have found that it is best to start and end that last seam about 1/4″ away from either end. I stitched those little areas closed by hand.

Making sewn weights was one of the more pleasant activities that I enjoyed during the pandemic’s “stay-at-home” time. I got to work with my hands, I felt like I was accomplishing something tangible, and I made something cute and soft! Win-win-win.
